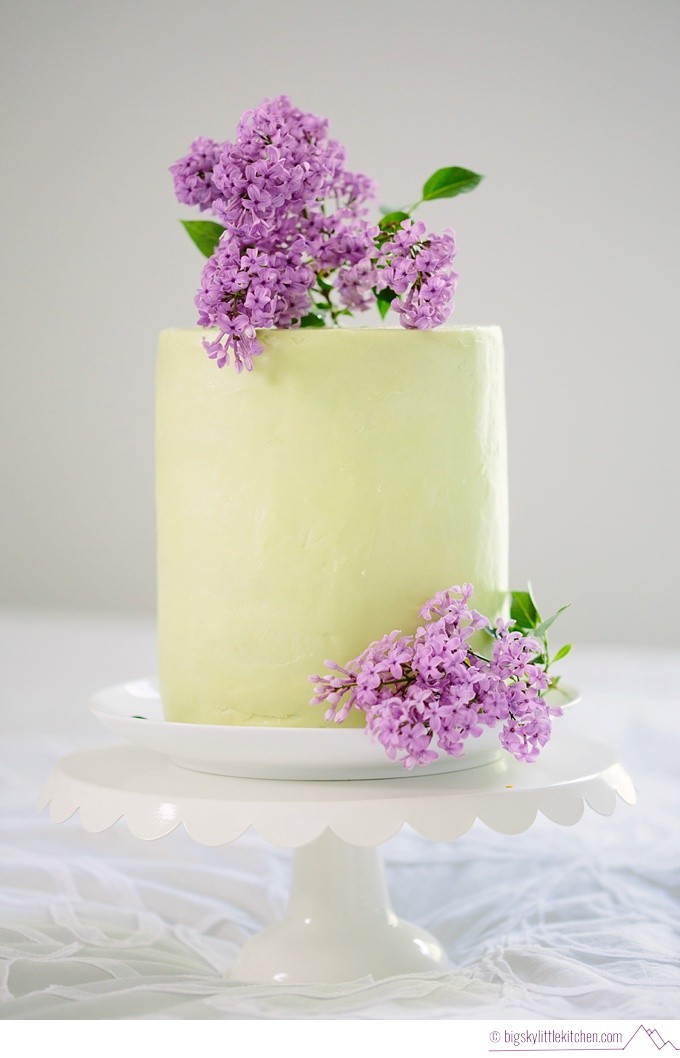
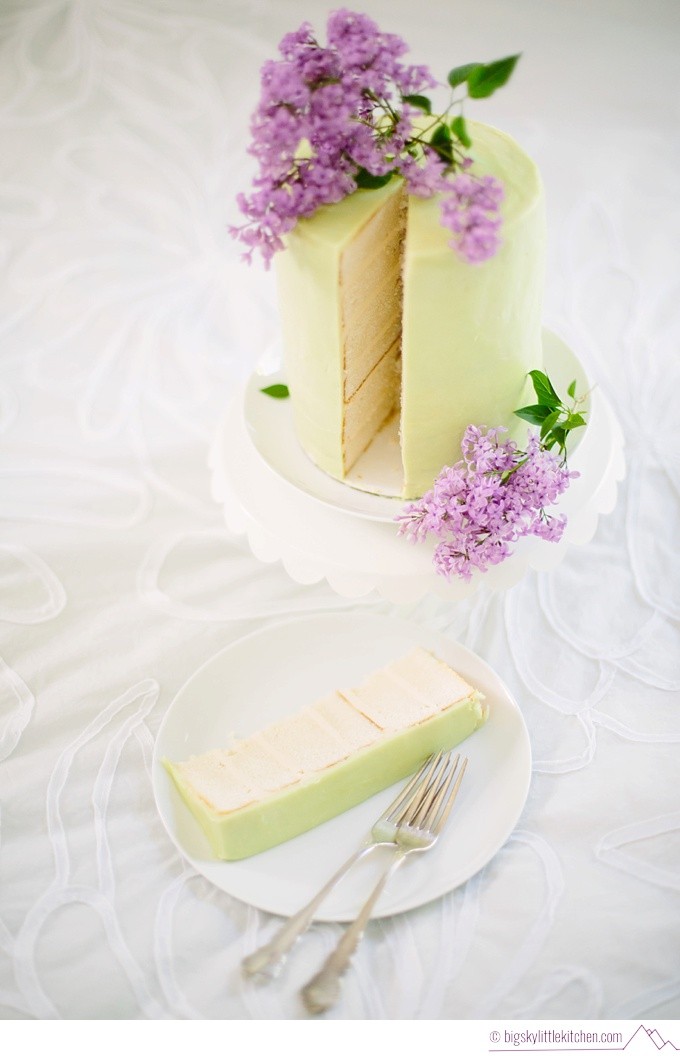
 Have I mentioned I love cake? If I haven’t – I seriously ADORE it (a fact about which all my friends tease me). But I think I’m coming to the point in my life where I actually enjoy making cake more than I do eating it. (Oh goodness! Have I now scandalized my sweet tooth?!) It’s just so fun to put together a sweet treat completely from scratch and dress it up to make it all pretty. And then give it away or share it of course. And this vanilla cake with lilacs and buttercream is the perfect recipe to accomplish just that.
This recipe is tasty, but to me, it’s really more about the simple and elegant presentation. I have a soft spot for lilacs – they remind me of those long, warm days at the end of each of my college years in the humid Midwest, the fragrance following as you brushed past them, their little flowers scattering like nature’s confetti, celebrating the new things coming your way. So I knew when they bloomed again I wanted to be at the ready with a cake to show them off and let them take center stage.
Lilac blooms are, unfortunately, not that long lasting (but their fleeting nature makes us love and appreciate them that much more, right?), so make sure to plan ahead if you know you’d like to use lilacs in your presentation as well.
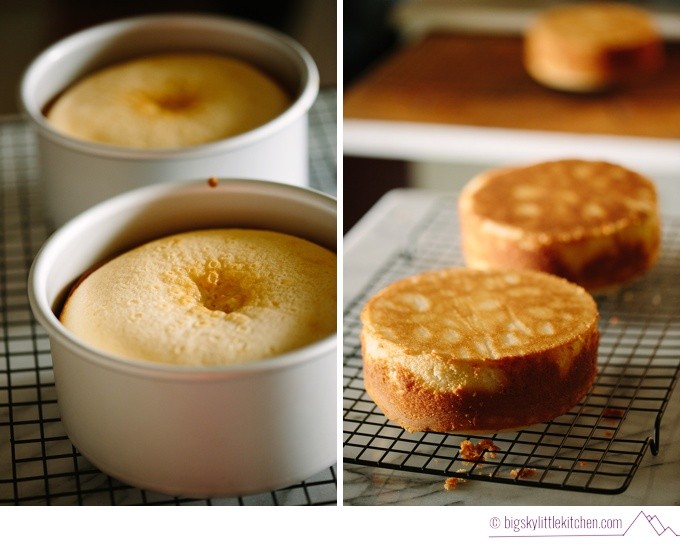 This particular cake recipe uses only egg whites in the batter to keep the cake from turning too yellow, which can happen if you use yolks It’s a pretty easy cake recipe to put together, but if you are baking it in three thick layers as I did with this recipe, just be mindful of not OVERbaking, since you don’t want to end up with dry cake. (I use these great little cake pans for my small, 6″ cakes.)
After making your cakes, you have the option to either get to layering and frosting right away, or you can refrigerate the layers for a bit until you’re ready to frost and decorate.
Also, if you’d prefer to keep the inside of your cake looking pristine and white when you slice into it, you can cut off the golden crust around the edges of the cake. I left mine on as I prefer more of an organic feel, and also that caramelization on the outside is tasty. :)
 The buttercream used on this cake is a show-stopper, for sure. It’s silky, has a beautiful sheen and tastes delicious, with a light, sweet flavor, as opposed to a more sugary frosting. It also doesn’t taste “greasy,” which I find is key to a good buttercream. I’ve made some versions that are just far too heavy on the butter ratio, and I swear, I may as well have taken a giant bite out of a stick of butter and added a little cake to it. Yeah – that’s a terrible visual. But those recipes were traumatizing. Not so with this one – perfectly balanced and tasty.
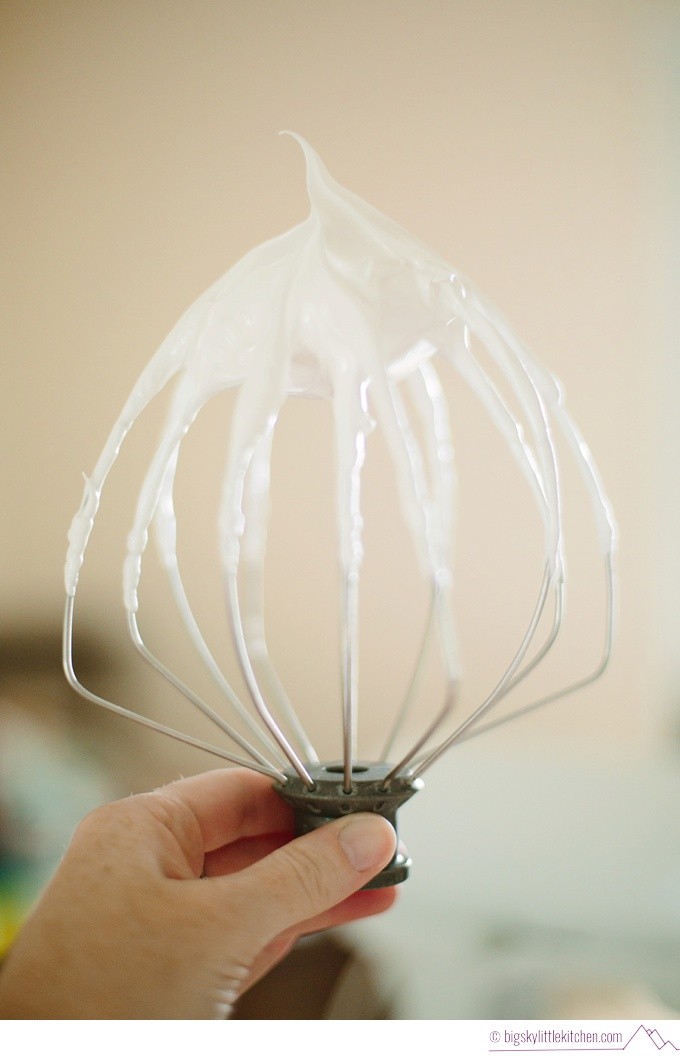
Swiss meringue buttercream makes use of egg whites that are heated gently, and then whisked together with sugar to get a really sexy looking meringue that may tempt you to taste-test a few times (you know, for that ever-important quality control aspect of cake-making). You’ll want to get it to the “stiff peak” stage, which is shown in the above image.
You’ll then add in your butter chunks, but please be aware. You don’t want your butter too warm or the mixture will “curdle” and take on a somewhat lumpy texture. However, you don’t want your butter too cold either. (Traditional buttercreams are a little golidlocks-esque, aren’t they?)
The good news is that this can usually be easily fixed. My buttercream that is pictured in these images in this post actually curdled on me because the butter was too warm when I added it, but I just stuck the entire bowl of curdled buttercream into my fridge for about 20 minutes, pulled it out once it had cooled down, and then remixed. It might take a little time, but it all eventually ended up coming together perfectly. So don’t fret if this happens to you!
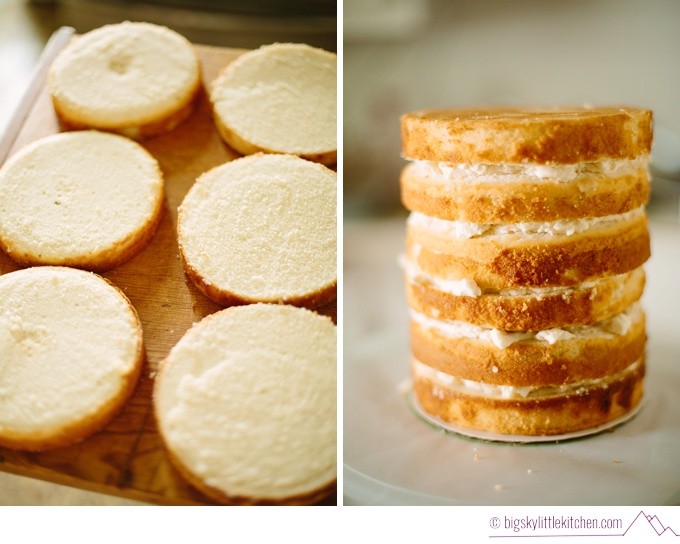 Upon completing your buttercream, have fun adding a little bit between each of your torted layers. (Prior to torting, remove any domed tops, too. If you’re unfamiliar with the term, torting means that I just sliced my three cakes in half to make six layers. I’ve found that this sweet knife makes torting an absolute breeze – it’s so important to have good knives! If you’d rather not split your cake into the mini layers, that’s totally fine, too, and will use less frosting. Keep in mind you will likely use every last bit of the buttercream in this recipe, so try to go sparingly. I probably put too much frosting in between my layers for this cake, which made the final frosting layers a little tricky to accomplish.
 Once your cake is assembled, you’ll want to add a crumb coat to seal in any crumbs and keep them from showing in your final “show” layer. Try to go sparingly here, too. Afterwards, refrigerate your cake to really get that frosting layer nice and hard and easier to apply your final frosting layer to.
Now’s the fun part! Tint your frosting the color of your choice and frost away! I wanted mine to be a pale spring green to really show off the contrast between the lilacs, their bright green leaves, and the pale color of the frosting.
 Gently wash your lilacs under lukewarm water to ensure you don’t have any added visitors joining you for cake. Gently blot the blooms dry with a paper towel or clean dish towel.
 Top your room-temperature cake with the lilacs and serve! Make sure to top it right before serving so the blooms don’t wilt.


 Enjoy your beautiful creation!
- 3¼ cups (375 g) cake flour, sifted
- 1 tablespoon plus 1 teaspoon baking powder
- ¾ teaspoon salt
- 2¼ cups (450 g) superfine sugar
- ¾ cup (170 g) cold, unsalted butter, cut into pieces
- 1½ cups milk, room temperature
- 2 teaspoons pure vanilla extract
- 1 teaspoon fresh lemon juice
- 7 large egg whites, room temperature
- 7 large egg whites (fresh eggs, not pasteurized whites from carton)
- 1¾ cups (350 g) granulated sugar
- 2 cups (455 g) unsalted butter, room temperature, cut into cubes
- 2 teaspoons pure vanilla extract or vanilla bean paste, or the seeds of ½ vanilla bean
- A pinch or two of salt, to taste
- Preheat oven to 350 degrees F. Grease the bottoms of three 6x3-inch round cake pans and line bottoms with parchment cut to size.
- Sift together flour, baking powder, and salt into an electric mixer fitted with paddle attachment. Add sugar. With mixer on low speed, add cold butter one piece at a time and beat until all butter is incorporated, about 3 minutes. The mixture should have a fairly fine texture.
- In a medium measuring cup with a pouring spout, combine half the milk, the vanilla, and lemon juice. In a separate measuring cup, whisk egg whites and remaining milk.
- Increase mixer speed to medium-low and slowly add the vanilla milk mixture and beat for 5 minutes. Scrape down the sides and bottom of the bowl. Reduce mixer speed to low and slowly add the egg white mixture. Beat for 2 minutes, occasionally stopping to scrape down sides and bottom of bowl.
- Fold the batter once or twice with a rubber spatula to ensure everything has been properly combined. Divide your batter evenly among your pans. (Use a kitchen scale to divide as evenly as possible.)
- Bake the three layers in the center of the oven until a wooden skewer inserted in the center comes out with only a few crumbs attached, 24 to 30 minutes. Try not to overbake.
- Let the layers cool in their pans on wire racks for 10 minutes. Using a knife or small offset palette knife, loosen the sides of the cakes and carefully turn them out onto the wire racks. Peel off the parchment liners and let layers cool completely.
- If not using cake layers immediately, wrap them tightly in plastic wrap and keep at room temperature or refrigerated for up to 2 days.
- Wipe a stainless steel bowl, whisk, and whisk and paddle attachments of an electric mixer with a paper towel dampened with a bit of lemon juice to make sure all traces of grease have been removed. Add egg whites and sugar to the bowl, and place bowl over a pot of simmering water. Cook the mixture, whisking constantly but gently, until the temperature reaches 130 degrees F.
- Upon reaching temperature, return bowl to mixer and fit with whisk attachment. Beat on medium-high speed until the mixture reaches the stiff peak stage (it will be very thick and glossy). Decrease the speed to medium and beat until the bottom of the bowl is cool to touch, which will be about 10 minutes or longer.
- Switch to the paddle attachment, and with the mixer running on low speed, add the butter in one piece at a time. (Be sure your butter is not TOO warm or your mixture will curdle. If your mixture appears curdled, place entire bowl in fridge for 15-20 minutes. Remove and beat mixture again.) Beat until the mixture is silky smooth. (This may take a while if your mixture has curdled.)
- Add vanilla and salt, and beat on low speed for another two minutes. Scrape down the side of the bowl and beat again for another minute or two.
Store buttercream in fridge if not using right away. Re-beat upon removal to bring back to spreading consistency.
This is a very scant amount of buttercream for a 6-layer cake. Try to use it sparingly, or make more if you'd like to not have to scrimp on frosting.
Decorate with lilacs right before serving to ensure lilac flowers do not wilt.
Serve cake at room temperature.
Recipes barely, barely adapted from the awesome Sweetapolita Bakebook.
Wow what a pretty cake! I love the lilac decoration, so elegant :) So many layers too!!
Thanks, June! I was pretty excited with how perfectly the lilacs accented the cake. And yes – layers galore! My fav! Thanks for stopping by. :)